DIY Hanger Storage Solutions: How to Organize Your Closet Like a Pro
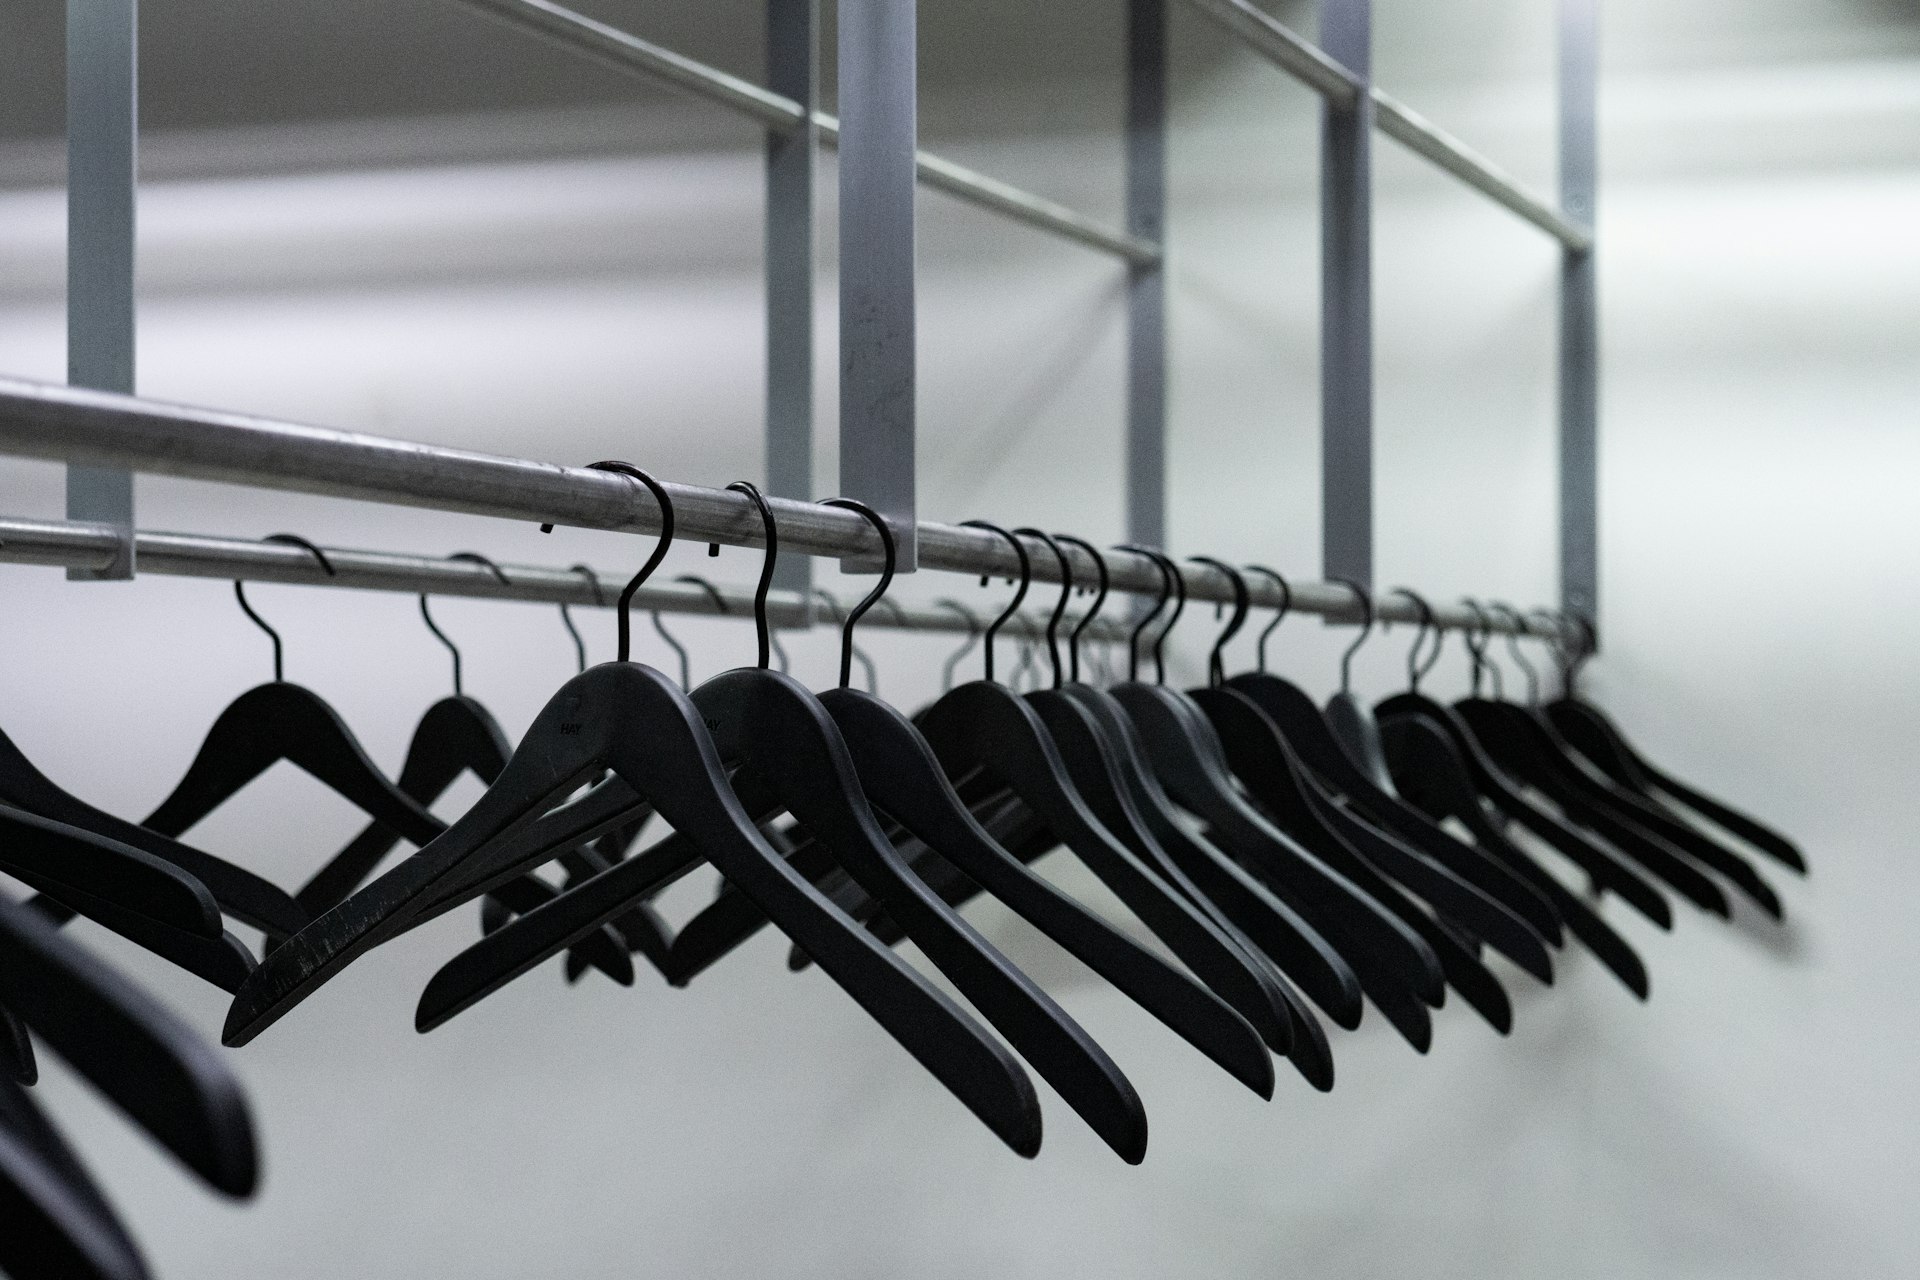

Photo by Jana Knorr on Unsplash
Why DIY Hanger Storage Matters
Closet organization is a common challenge, especially in homes where every inch of space counts. Empty hangers, if left unorganized, can quickly clutter your closet, making it harder to find what you need and reducing the overall functionality of your wardrobe area. DIY hanger storage solutions offer a cost-effective, customizable way to keep your closet neat without spending a fortune on store-bought organizers. Whether you’re dealing with a tiny apartment closet or a spacious walk-in, there’s a DIY approach that can fit your needs and style.

Photo by hidefumi ohmichi on Unsplash
Basic Principles of DIY Hanger Storage
Before diving into specific projects, it’s essential to understand the core principles of effective hanger storage:
- Accessibility: Store hangers where they’re easy to reach when you need them-ideally, close to where you hang your clothes.
- Space Efficiency: Use vertical or underutilized spaces (like the back of a door, above the rod, or under the bed) to free up prime closet real estate.
- Grouping: Keep similar types of hangers together, and consider bundling them with rubber bands or twist ties for even more efficiency.
- Protection: Store hangers in a way that prevents them from getting tangled or damaged.
DIY Hanger Storage Projects
Dollar Tree Paper Towel Holder Hanger Stacker
One of the most popular and budget-friendly DIY hanger organizers uses materials you can find at Dollar Tree: two paper towel holders, a wooden plank, super glue, and a few screws. This project is ideal for those who want a portable, attractive solution that keeps hangers neatly stacked and ready to use.
Materials Needed
- Two paper towel holders (Dollar Tree or similar)
- Wooden plank (cut to desired length)
- Super glue
- Four small screws
- Screwdriver
- Spray paint (optional, for customization)
Step-by-Step Instructions
- Prepare the Plank: If desired, spray paint the wooden plank in your preferred color and let it dry completely. This step is purely aesthetic but can help the organizer blend with your closet décor.
- Attach the Paper Towel Holders: Apply super glue to half of the bottom of each paper towel holder. Position each holder about halfway onto both ends of the wooden plank. Press firmly to secure.
- Reinforce with Screws: For added durability, screw each paper towel holder into the plank using two screws per holder. This ensures the holders stay firmly in place, even with frequent use.
- Let It Dry: Allow the glue to dry completely before loading in your hangers.
- Use Your Organizer: Slide hangers onto the holders, stacking them neatly. The organizer can sit on a shelf, the floor, or even be mounted to the wall for easier access [1] .
Cost and Variations
This DIY project typically costs around $4 if you source materials from Dollar Tree and use supplies you already have at home. If you don’t have a dollar store nearby, similar towel holders are available at IKEA for about $3 each, and wooden planks can be purchased at hardware stores for under $2 (though you may need to cut them to size). For even easier access, consider mounting your hanger stacker on the wall using self-adhesive brackets, which are available online or at home improvement stores [1] .
Chain Hanger Storage
For a minimalist, space-saving solution, consider using a length of chain to hang your extra hangers. This method is especially useful for small closets or apartments where floor and shelf space is limited.
Materials Needed
- A piece of chain with links large enough for hanger hooks to pass through
- 3M hook or drilled hook (for mounting)
Step-by-Step Instructions
- Choose Your Location: Decide where to hang the chain-inside the closet door, on a side wall, or even above the existing clothing rod.
- Mount the Hook: Attach a sturdy hook (either adhesive or screw-in) at your chosen spot. Make sure it can support the weight of your hangers.
- Attach the Chain: Hang the chain from the hook. For longer chains, you may want to secure the bottom with another hook to prevent swinging.
- Load Your Hangers: Slide the hooks of your hangers through the chain links. They’ll hang vertically, taking up minimal space and keeping your closet tidy [2] .
Over-the-Door Shelving and Wire Baskets
If you have a surplus of hangers, over-the-door shelving units or wire baskets can provide ample storage without sacrificing closet space. Look for shelving units with at least three shelves, and measure to ensure your hangers will fit comfortably. Wire baskets can also be mounted on the wall or inside the closet door for a sleek, modern look.
DIY Wooden Knob or Hook
For a rustic, custom touch, create your own hanger hook from scrap wood. Screw or glue two pieces of wood together to form a “T” shape, with the crossbar angled slightly upward to prevent hangers from sliding off. Mount this hook high on the closet door or wall, above head level, for easy access and to keep hangers out of the way [2] .
Storage Cubes and Boxes
Square storage cubes or even sturdy Amazon boxes can serve as effective hanger storage, especially if you have many extras. Group hangers by type, secure them with rubber bands or twist ties, and place them in the box with the hooks facing down and the rod facing up. You can store these boxes on a high shelf, under the bed, or in another out-of-the-way location. For added convenience, cut a slit in the top of the box so the hooks can hang out, making it easy to grab what you need [2] .
Plastic Tubs and Pillowcases
For seasonal or infrequently used hangers, consider storing them in plastic storage tubs or even pillowcases. This method is ideal for keeping hangers clean and protected during long-term storage. You can divide them into smaller groups and tuck them away with off-season clothing.
Additional Rod or Wall-Mounted Pegs
If your closet allows, install a second rod just for hangers. Alternatively, use wall-mounted pegs or drawer knobs to hang extra hangers. This approach works well in laundry rooms or mudrooms, where you might need quick access to spare hangers. For a no-drill option, look for adhesive hooks or over-the-door organizers that can hold multiple hangers.
Troubleshooting and Customization
Not every DIY solution will work perfectly in every space. Here are some common challenges and how to address them:
Limited Wall or Door Space
If you can’t mount anything to your walls or doors, focus on freestanding solutions like the Dollar Tree hanger stacker or storage cubes. These can be placed on a shelf, under the bed, or even in another room if necessary.
Different Hanger Types
Most DIY solutions work best with standard hangers that have a bottom bar. If you use specialty hangers (like those for pants or skirts), you may need to adjust your storage method or dedicate a separate area for them.
Aesthetic Preferences
Customize your DIY organizer with paint, decorative knobs, or by choosing materials that match your closet’s style. The goal is to create a system that not only functions well but also looks good in your space.
Alternative Solutions and Where to Find Materials
If you prefer not to build your own organizer, there are affordable alternatives available:
- IKEA offers inexpensive towel holders that can be repurposed for hanger storage.
- Home improvement stores like Lowe’s or Home Depot carry wooden planks, chains, hooks, and other hardware you might need.
- Online retailers such as Amazon sell adhesive wall brackets and over-the-door organizers that can be used for hanger storage.
Always measure your space and hangers before purchasing materials to ensure a proper fit. If you’re unsure about a specific product, check customer reviews or ask store associates for advice.
Step-by-Step: How to Choose the Right DIY Hanger Storage for Your Home
- Assess Your Space: Look at your closet’s layout, available wall or door space, and how many hangers you need to store.
- Determine Your Budget: Decide how much you’re willing to spend. DIY solutions can range from nearly free (using items you already have) to around $10-$15 for more elaborate projects.
- Choose Your Method: Select a storage solution that fits your space, budget, and aesthetic preferences. Consider combining methods if you have a large collection of hangers.
- Gather Materials: Make a list of what you’ll need and where to find it. Don’t forget basic tools like a screwdriver, glue, and measuring tape.
- Build and Install: Follow the step-by-step instructions for your chosen project. Take your time to ensure everything is secure and functional.
- Test and Adjust: Load your hangers into the new organizer and make any necessary adjustments. You may need to reposition hooks, add more support, or tweak the design for optimal use.
Real-World Examples and Inspiration
Many homeowners and renters have shared their DIY hanger storage successes online. For example, TikTok creator @craftwithbee demonstrated how the Dollar Tree paper towel holder hack can transform a cluttered closet into a neatly organized space for just a few dollars [1] . Others have repurposed magazine files, over-the-door shoe organizers, and even repurposed ladders as creative hanger storage solutions.
For visual learners, YouTube offers tutorials like “DIY Clothes Hanger Organizer” that walk you through the process step by step, providing inspiration and practical tips [3] .
Key Takeaways
- DIY hanger storage is affordable, customizable, and accessible to anyone, regardless of skill level.
- Multiple solutions exist-from repurposed household items to simple woodworking projects-so you can find the perfect fit for your space.
- Organizing your hangers saves time, reduces clutter, and makes your closet more functional.
- With a little creativity and basic materials, you can create a hanger storage system that rivals expensive store-bought organizers.
References
[1] House Digest. The Dollar Tree DIY That Can Keep Your Hangers Neat & Organized.